Passwordless Authentication Angular Application
Creating a passwordless authentication with SAWO SDK.


So let me tell you about SAWO first. It's an easy-to-use beginner-friendly API/SDK for password/OTP-less authentications for your users. Their APIs are very easy to integrate into many languages/frameworks whether it be Web applications or mobile applications. Currently, they have support for Android/Flutter/React-Native and Angular/React/Django/Flask/PHP/Vanillajs, etc.
So you might be thinking about why we need an additional auth we create our own auth. So SAWO provides a kind of authentication in which end-user doesn't need a password to log in. They just need their Unique email/phone number.
So for the first-time authentication end users just have to provide the email/phone then a unique OTP is sent to their email/phone after it when they successfully authenticated, SAWO prompts the user to trust the browser or not. If the User chooses to trust the browser then SAWO maintains a unique session key to their browser which is very secured. So next time when a user tries to log in the web application will not prompt for any OTP or something it will automatically authenticate the user for further requests.
So to demonstrate this we'll use Angular, which is a front-end framework for creating single-page applications.
Enough talk right. So Let's move to the implementation part.
So firstly create a new angular project
ng new sawoAuth
Now you can create a new module named Auth or login anything you want, we will add our SAWO API here.
ng generate module auth --routing auth --module = app.module
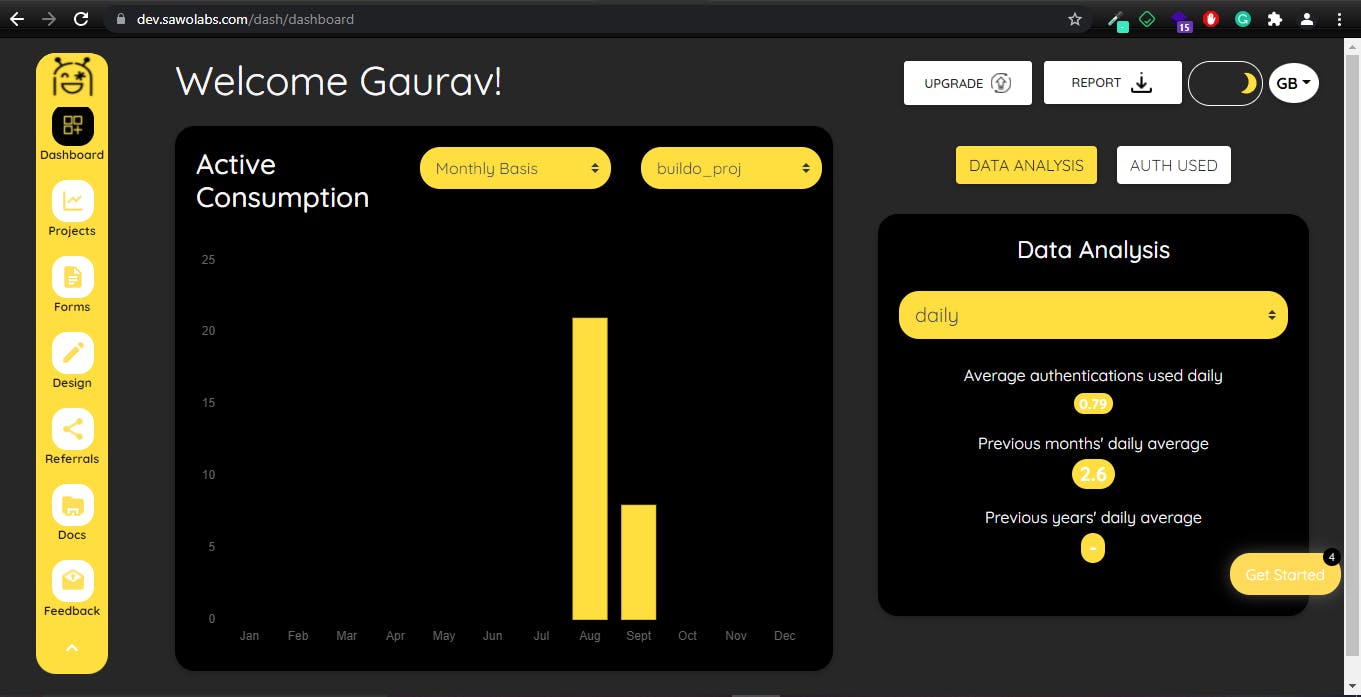
Now move to SAWO labs dashboard to generate app id and app secret. Simply create your account and then create a new project.
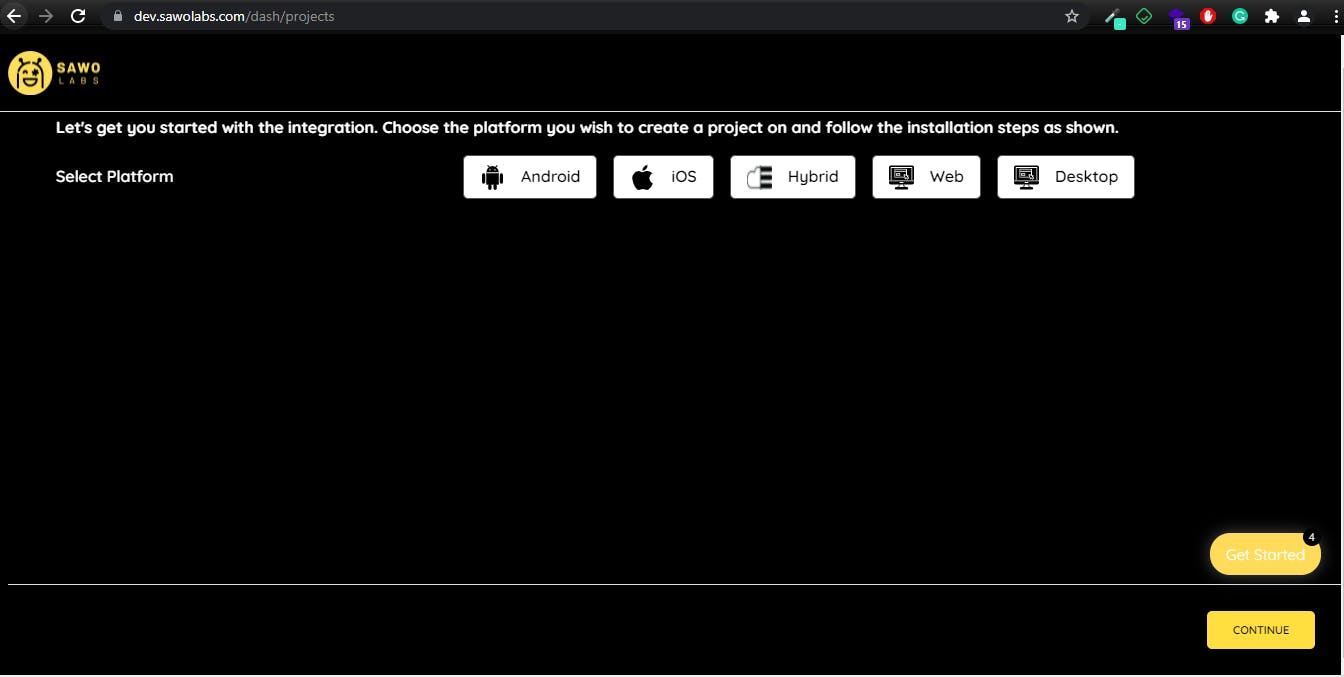
Choose your tech stack, here I will choose Web for angular. Then simply click on continue.
Now Enter your project name and the host on which project is going to serve.
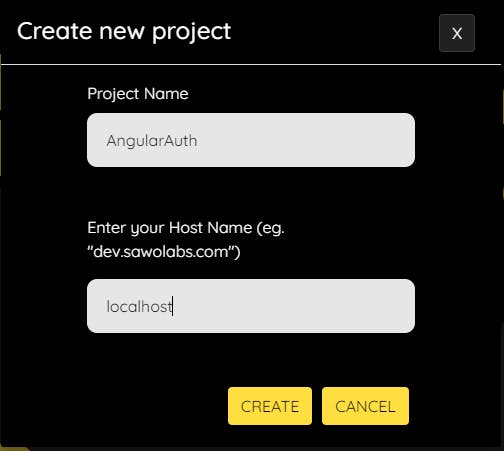
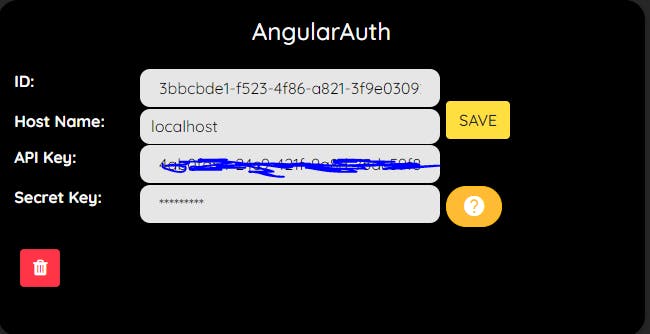
After clicking on Create, a CSV file with SAWO unique AUTH keys will be downloaded to your system. You can also access your keys from SAWO's dashboard also.
Now let's jump into the angular project we have just created.
So for now our angular project structure is
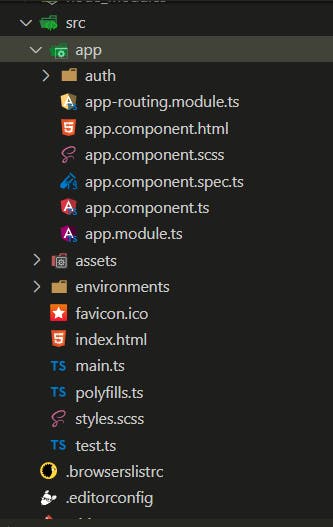
Now in auth.component.html place one div and give its id sawo-container.
<div id="sawo-container"></div>
After it install SAWO library using:
npm install sawo
Then import sawo class into auth.component.ts
import { Component, OnInit } from '@angular/core';
import Sawo from "sawo";

@Component({
  selector: 'app-auth',
  templateUrl: './auth.component.html',
  styleUrls: ['./auth.component.scss']
})
export class AuthComponent implements OnInit {

  constructor() { }

  ngOnInit(): void {
  }

}
Now we will add sawo configuration
 var config = {
        // should be same as the id of the container created on 3rd step
        containerID: "sawo-container",
        // can be one of 'email' or 'phone_number_sms'
        identifierType: "phone_number_sms",
        // Add the API key copied from 2nd step
        apiKey: "",
        // Add a callback here to handle the payload sent by sdk
        onSuccess: (payload) => {},
    };
Then a SAWO instance has to be created using the code given below:
let sawo = new Sawo(config)
Then the showForm method should be called thereafter as the showForm method is responsible for rendering the form in the given container. So for that we will use ngAfterViewInit function and add
this.Sawo.showForm()
So Full code snippet will look like this
import { Component, OnInit } from '@angular/core';
import Sawo from "sawo";

@Component({
  selector: 'app-auth',
  templateUrl: './auth.component.html',
  styleUrls: ['./auth.component.scss']
})
export class AuthComponent implements OnInit {
  Sawo: any;
  isLoggedIn: any = false;
  userPayload: any = {};

  constructor() { }

  ngOnInit() {
    const sawoConfig = {
      // should be same as the id of the container
      containerID: "sawo-container",
      // can be one of 'email' or 'phone_number_sms'
      identifierType: "phone_number_sms",
      // Add the API key
      apiKey: "<API KEY>",
      // Add a callback here to handle the payload sent by sdk
      onSuccess: (payload: any) => {
        this.userPayload = payload;
        this.isLoggedIn = true;
        alert('User Logged in successfully');
      }
    };
    // creating instance
    this.Sawo = new Sawo(sawoConfig)
  }

  ngAfterViewInit() {
    this.Sawo.showForm();
  }

}
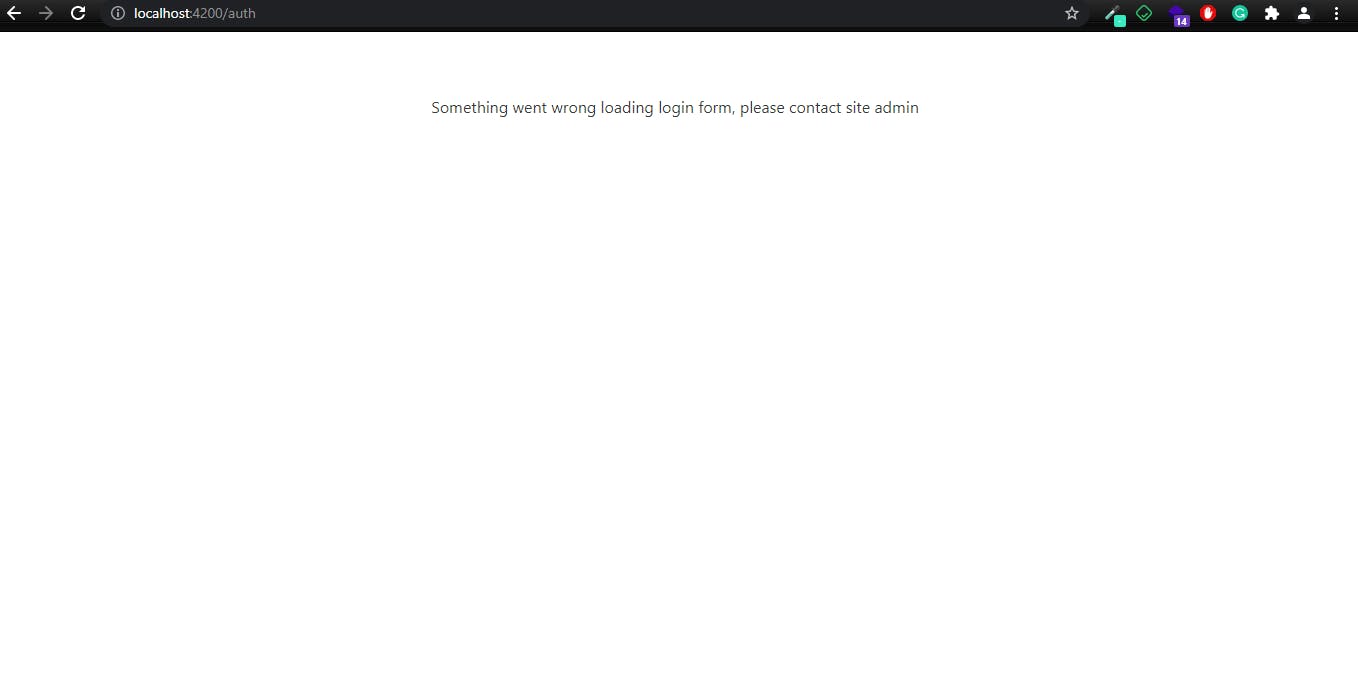
Remember to add API keys and other configurations correctly otherwise it will throw an error, which look like this
And If everything goes fine then you will see a page look like this
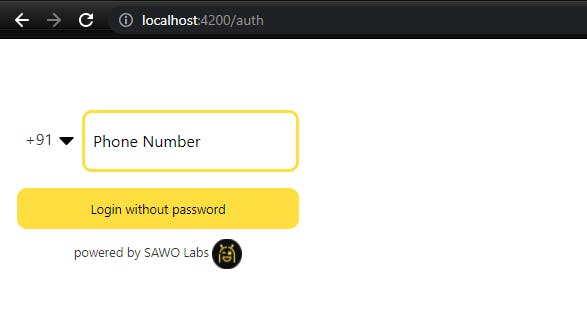
Let's try it
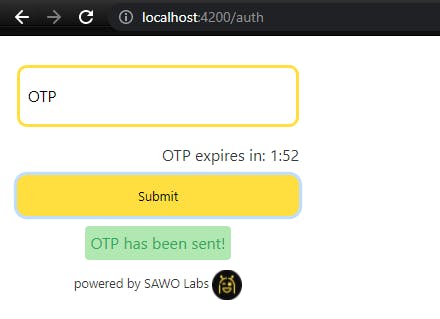
If you trust on your browser then click on TRUST

And then You can see SAWO authenticate the user successfully
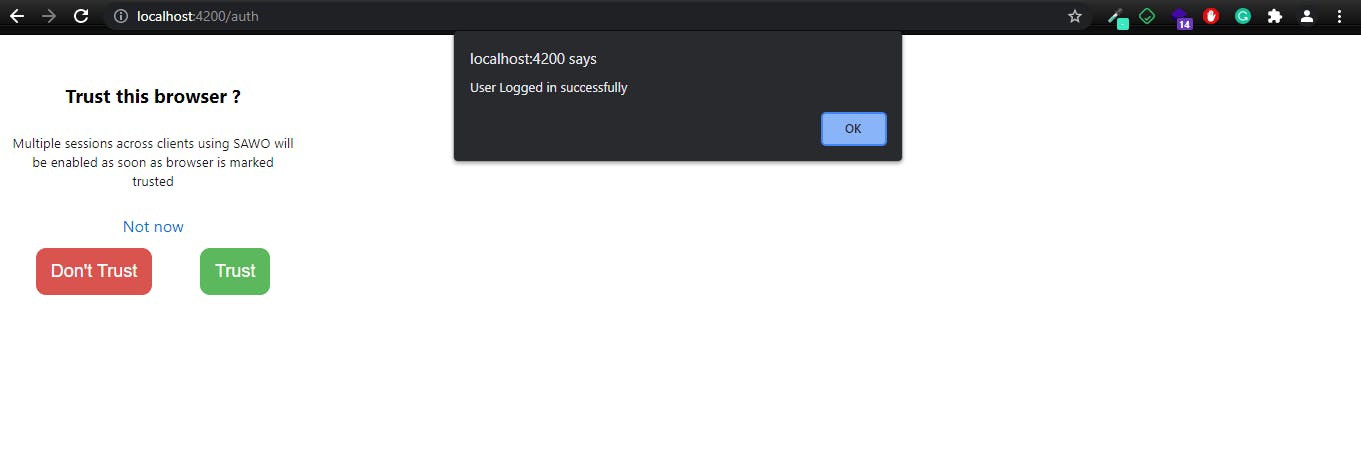
Now try to refresh the browser and try again with the same phone number you did previously. And this time it won't ask for any OTP and it will automatically log you in. That's the power of SAWO API. You can also print userPayload directly in HTML template by
{{userPayload|json}}
You can also create a Backend API for storing user information in the database and get the authentication token for further requests. Here I've demonstrated phone_number_sms you can also opt-in for email verification, it's up to you. Also, SAWO provides a custom form in which we can add more UI elements to get the user information. Cool isn't it.
Congratulations !!!!! You have successfully integrated SAWO Labs API in your project.
Thank you for reading this so far. You can reach me out at LinkedIn Github
You can also join SAWO's discord community SAWO Discord